

vmNception – vSphere running Nutanix running ESXi
So in my new role I am finding more and more that I need to evaluate more varied and even edge case customer environments. One recently being a Nutanix environment running ESXi. My first thought well you can only do that with hardware but in the latest release of their community edition ESXi is now a valid hypervisor
Below I am going to outline some of the steps I took to get this going in a nested environment, please note that this is not supported by VMware or Nutanix ironically…. I am mainly using it to test scenarios and further my knowledge!
Firstly you will need to head over to https://www.nutanix.com/products/register and register for access to the community edition once you have done that you should get access to this post
Grab the latest ISO and at time of writing this I used CE-2020.09.16
You will also need to grab a copy of ESXi, you can do this from a trial or VMUG Advantage and do not forget to get a copy of vSphere too 🙂 Make sure that this version is compatible with the underlying host with the HCL as normal, I am actually using 6.7 (VMware ESXi, 6.7.0, 15160138) in my nested environment but the physical host is running 7
In my lab I have run this on the following hardware
ProLiant DL380p Gen8 – Intel(R) Xeon(R) CPU E5-2665 – 380GB RAM
Host running 7.0.0 (Build 15843807)
Each VM setup as follows
8 CPU
64GB RAM
40GB boot drive set as SATA running on NFS Share
400GB CVM drive set as SATA running on NFS Share
600GB Data drive set as SATA running on NFS Share
You will also need to host the ESXI iso on an HTTP server somewhere, as I have a Synology I just used the inbuilt webserver. I also uploaded the Nutanix CE ISO to an SSD on the host as this just helped with boot times
Once this is all done login to you host that you will have this nested environment on and start to create a VM
This VM will need the following added to is and there is a video example below
Compatibility:- ESXi 7.0 Virtual Machine
Guest OS family:- Other
Guest OS version:- VMware ESXi 7.0 or later
CPU:- Ideally 8 or more with expose hardware assisted virtualization to guest OS active
RAM:- 32GB or more (some people have had luck with 16GB)
2 x Additional drives of at least 250gb and 500gb, again these can be thin provisioned
All drives must be set to SATA and ideally remove the SCSI adapter
BIOS must be set to EFI
Secure boot must be deactivated
Once the install has happened you will see that the host states that it’s Failed-Install, luckily there is a fix for this.

Do note you may be lucky and the disks you are using just work otherwise we need to modify one of the files and kick start the process off again. To do this SSH into your host (the service is already started) with the password nutanix/4u
Once in you need to do the following
cd /bootbank/Nutanix/firstboot/
vi esx_first_boot.py
In here you need to change the following if wwn in disk: you can do this by searching with /
This needs to be changed to
if (wwn != None and wwn in disk) and (disk not in device_identifiers):You will also need to delete or REM out the following block
elif disk[-3:] == ":10":
print(disk[:-3])
device_identifiers.remove(disk[:-3])
disk_dict.pop(disk[:-3])
location -= 1
Save the file up by pressing escape and the typing wq! and pressing enter. Now run the following to start the process again
rm .firstboot_fail

./esx_first_boot.py
If that was too much I have also put a copy of the file on my GitHub thats pre-modified (Sorry Nutanix if this wasn’t allowed, happy to take it down!). By running the below it will clear things up and inject the file and kick off the process again
cd /bootbank/Nutanix/firstboot/

rm esx_first_boot.py

wget https://raw.githubusercontent.com/neoof86/NTXCENested/main/esx_first_boot.py

rm .firstboot_fail

./esx_first_boot.py
This build can take some time but eventually you should see all your hosts in a state where they show a running CVM, depending on the speed of your lab you have see this for a while

Also for any reason if your SSH session times out just re run the esx_first_boot.py and it will tidy up such as renaming the CVM 🙂
Now what we need to do is create the cluster, there is a great guide here for this of which I will summarise below, to start this SSH to one of the CVMs with username nutanix and password nuatnix/4u
cluster -s CVMip1,CVMip2,CVMip3 create

cluster start

ncli cluster edit-params new-name=yourclustername

ncli cluster add-to-name-servers servers="yourdnsip"

ncli cluster add-to-ntp-servers servers="ntpip"

ncli cluster set-external-ip-address \
 external-ip-address="clustervip"
Once this finishes you should now be able to login to the interface and check things out, you will need to log in with admin and nutanix/4u , you will also need your Nutanix login which you created for the downloads earlier
You should be automatically redirected to the login page but if not it should be running on https://clusterip:9440/
Now all this up working what you need to do is create a new cluster in your vCentre with HA turned on and add the hosts, the username is root and password is nutanix/4u
Once this is done if you head to settings which is the cog in the top right and then vCenter Registration
Click the register button and follow the on screen prompts

The final bit is to now create a datastore all the hosts can see and spin up a VM 🙂 You can do this by selecting the Storage drop-down, + Storage Container, give it a name and hit go. By the time you get into Center, it should be mounted and ready to you. You should also spot my Photo VM I have running on there

Thats it for now, I did try and tackle Prism central but I just think my lab is not up to the power it needs 😀
Finally thanks to all the people over at the NEXT Nutanix community that had documented some of these errors so I could piece all this together and replies to a few posts. Also Vishwapreet Mahabir over at https://multicloudlife.com/ as his blogs sparked this idea off
Issues found so far:-
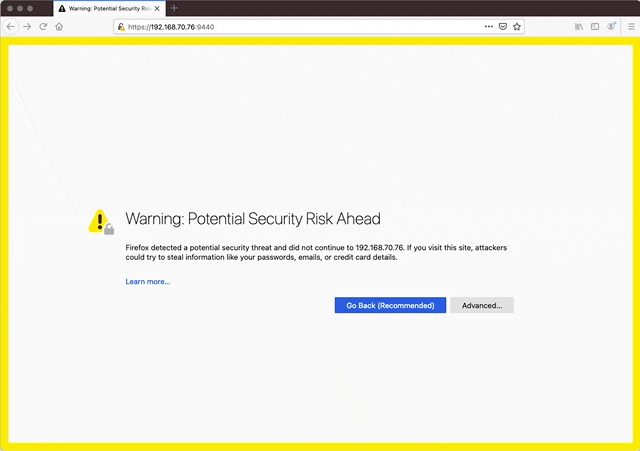
After the install if you try and get to the CVM management you will get the below error with Safari, you need to use Firefox or Chrome

The hypervisor times out and will not install…

This is usually that the ISO you are using has corrupt or like me the installer prompts and the scripts can not get past this! (or that’s what I assume) for instance, if I ran the installer for 7u1 on my host I got this. The HCLs are there for a reason 🙂

That said your lab may just be very slow and it times out naturally if this is the case. What you need to do is modify the installer_vm.py and in the section stating HYP_INSTALL_TIMEOUT extend these values and then rerun the setup with ./ce_installer && screen -r
The files usually reside in /root/phoenix/imaging_helper/ but have a hunt around using ls as the builds may differ
The PSOD (Purple Screen Of Death):- I had this when I tried to use CentOS7 for ESXi or if I left the disks as SCSI

vSAN?? – I again got some PSOD issues with vSAN so I tried this on my NVMe instead but I will need to revisit this but overall it seems to work fine on my Synology drives albeit not supported
Networking Issues:- My host or CVM or VMs won’t get networking properly! This is usually down to the security setting of your VM network. The security needs to be set to the following
Promiscuous mode: Accept
Forged transmits: Accept


You May Also Like

RDP a different way, HTML5 and using Linux!

ASUS ROG Ally… it runs ESXi
